 +86-13376814803
 robert@hzhongtai.com
Installing A Crawl Space Dehumidifier
Installing a crawl space dehumidifier is a relatively straightforward process, but it's important to follow the manufacturer's instructions carefully for the specific model you have. Here is a general guide to help you with the installation of a crawl space dehumidifier:
Materials and Tools:
- Crawl space dehumidifier
- Power source (electrical outlet)
- Drainage system (optional, depending on the dehumidifier)
- PVC pipes or hoses for drainage (if required)
- Level
- Screwdriver
- Drill with appropriate bits
- Mounting hardware (if applicable)
Installation Steps:
-
Choose a Suitable Location:
- Select a central location in the crawl space for the dehumidifier installation. It should be close to a power source and, if applicable, a drainage area.
-
Secure the Dehumidifier:
- If your dehumidifier has mounting brackets, follow the manufacturer's instructions to securely mount it to the wall or other suitable surface.
-
Connect to Power:
- Plug the commercial crawl space dehumidifier into a dedicated electrical outlet. Avoid using an extension cord if possible, and ensure the outlet is GFCI-protected.
-
Configure Drainage:
- Check if your dehumidifier has a built-in drainage system or if you need to set up an external drainage solution. Some units have a built-in pump to remove collected water, while others may require you to connect a hose to direct water to a drainage point.
- If using a hose, attach it to the dehumidifier's drainage port and route it to an appropriate drainage location.
-
Level the Dehumidifier:
- Use a level to ensure that the dehumidifier is properly leveled. This helps in the efficient operation and drainage of the unit.
-
Set Desired Humidity Level:
- Adjust the settings on the dehumidifier to the desired humidity level. Follow the manufacturer's guidelines for optimal settings.
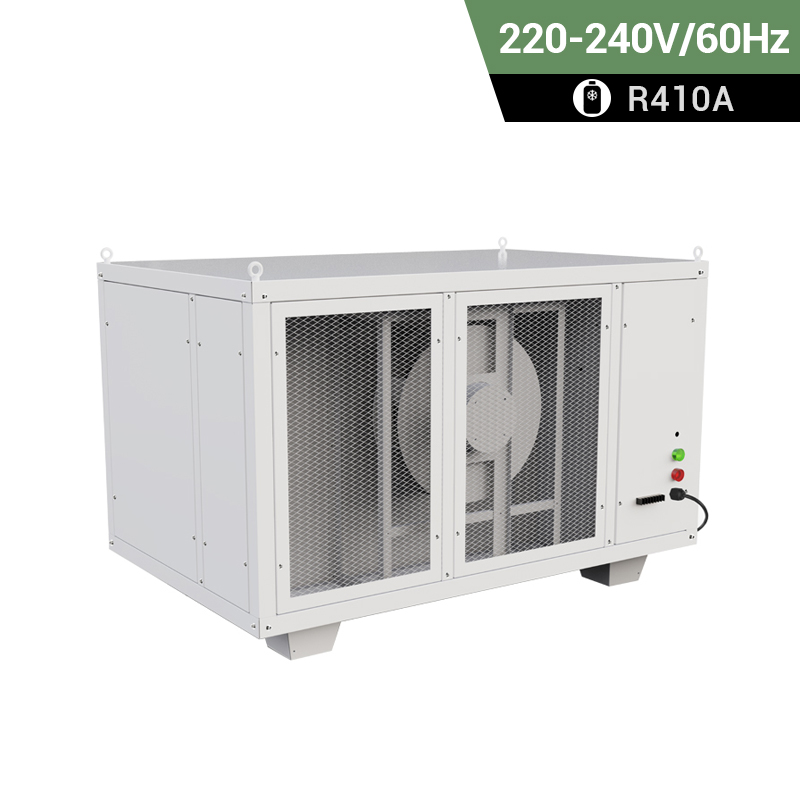
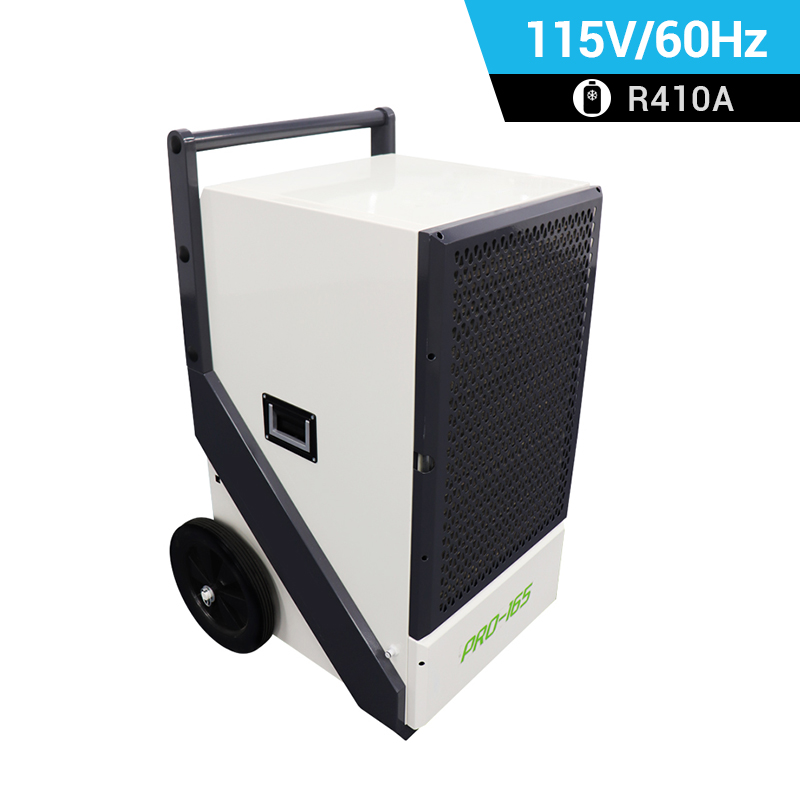
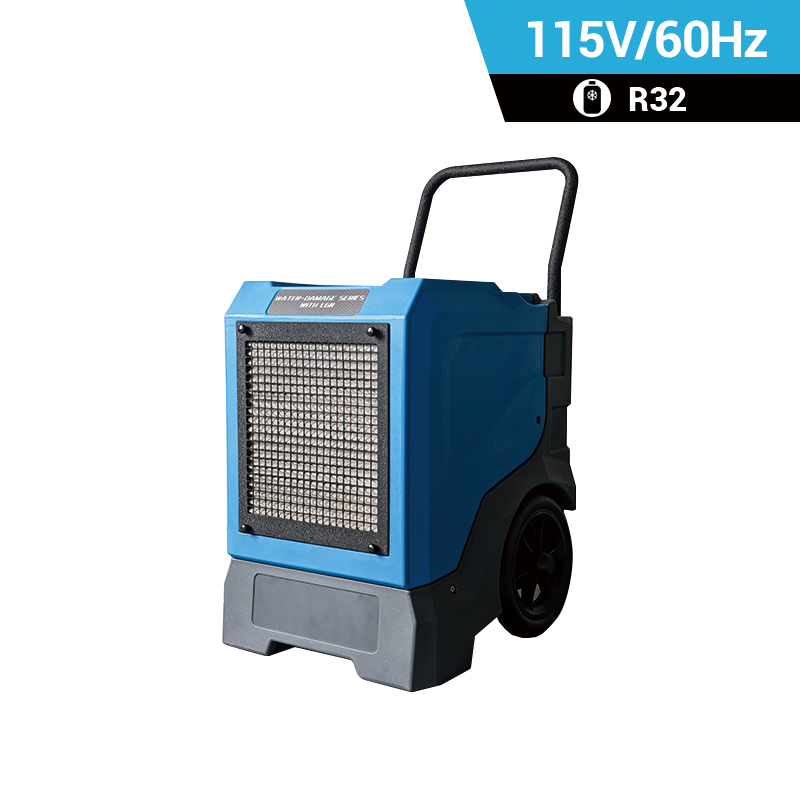
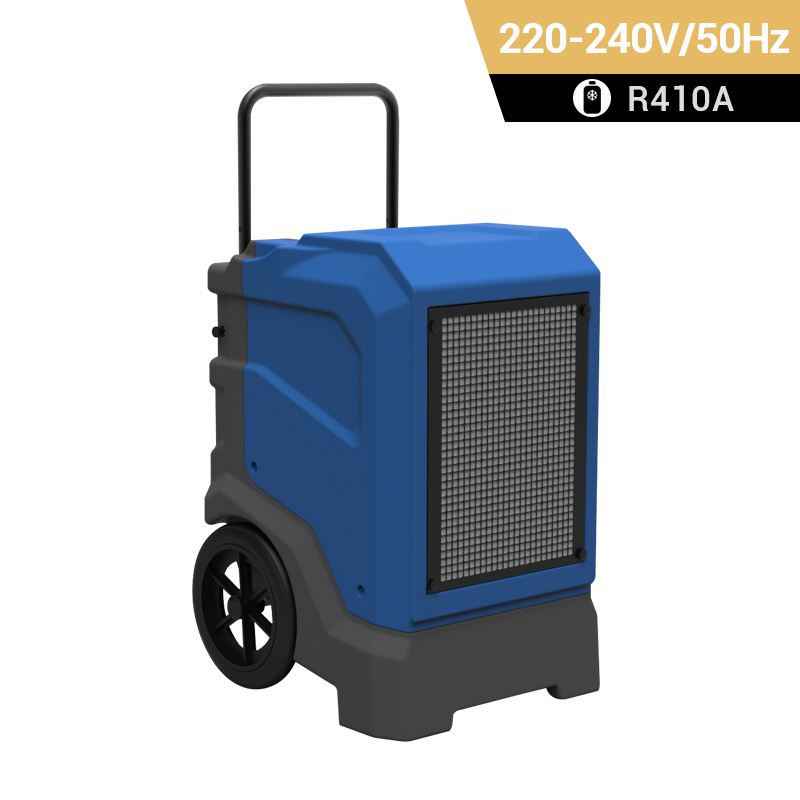
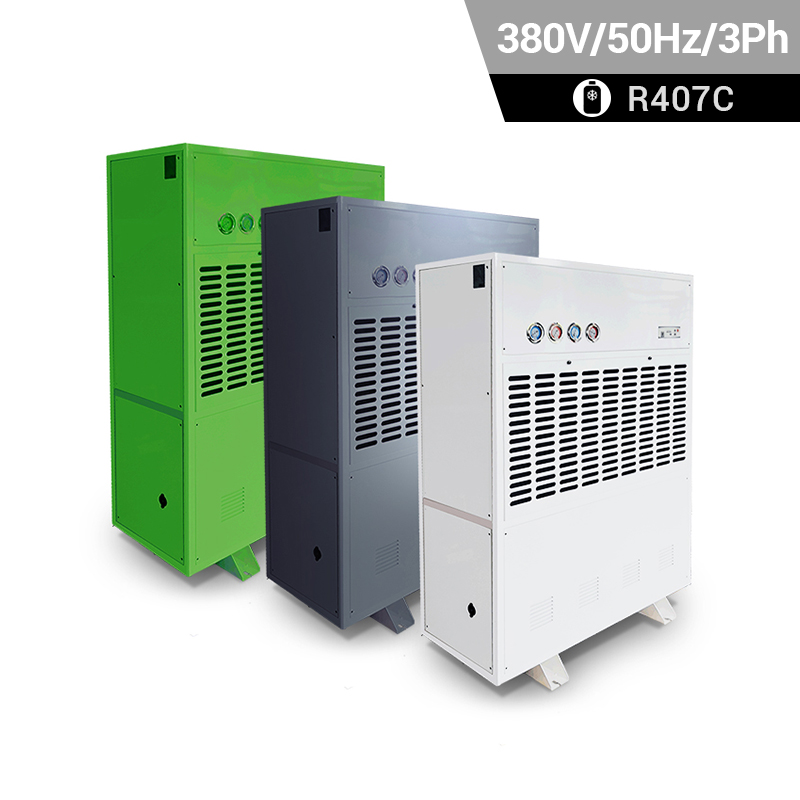
Related Products
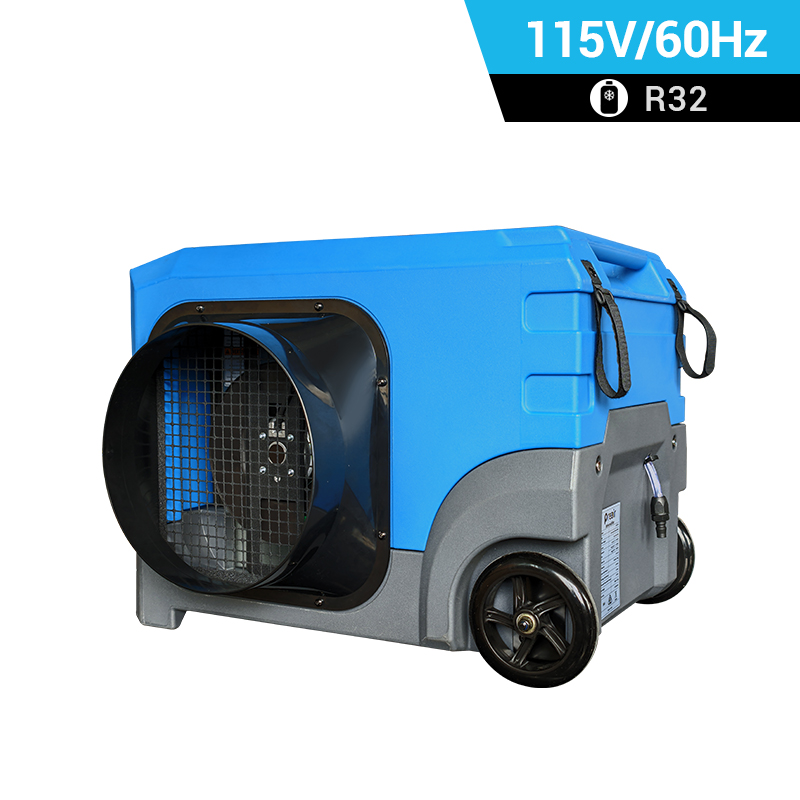

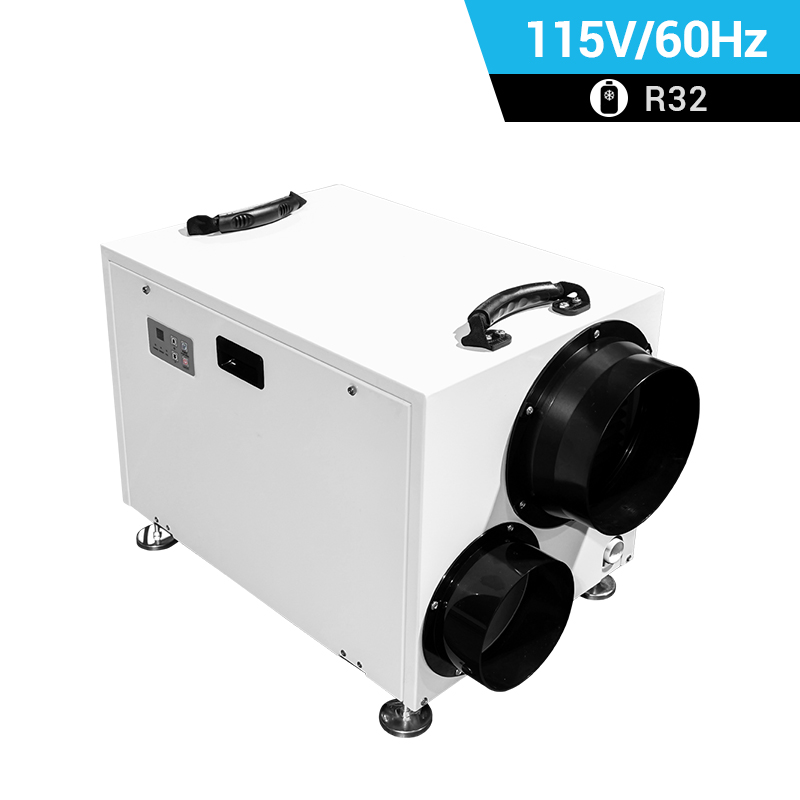
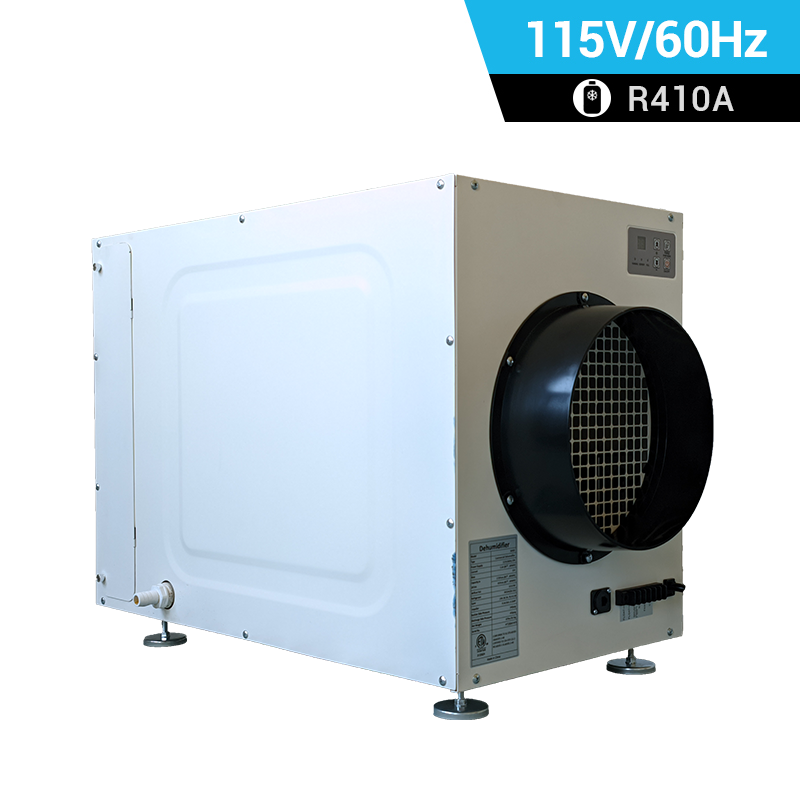


Top Selling Products


- Related Blog
- Related Videos
- Reviews
Installing A Crawl Space Dehumidifier Related Videos From Youtube

-

Phone
-

E-mail
-

Facebook
-

Youtube
-

Top


